
Mastering paint roller techniques is key to achieving a smooth, streak-free finish in any painting project. Whether you’re a DIY enthusiast or tackling a professional job, the right techniques can make all the difference. In this guide, we’ll walk you through how to use a paint roller like a pro, explore the best rolling techniques, and help you avoid common mistakes that can ruin your work.
Why Mastering Paint Roller Techniques Matters
A well-applied coat of paint can transform any space, but improper rolling techniques can lead to streaks, uneven coverage, or wasted paint. Understanding the essentials of paint roller techniques ensures you achieve a flawless finish with less effort and fewer mistakes.
Step-by-Step Guide: How to Use a Paint Roller Like a Professional
1. Prepare Your Surface and Materials
- Clean the surface to remove dust, dirt, or grease.
- Use painter’s tape to protect edges and corners.
- Choose the right roller based on the surface and paint type.
Pro Tip: High-quality rollers and paint are crucial. Check out Dulux or Bunnings for reliable options.
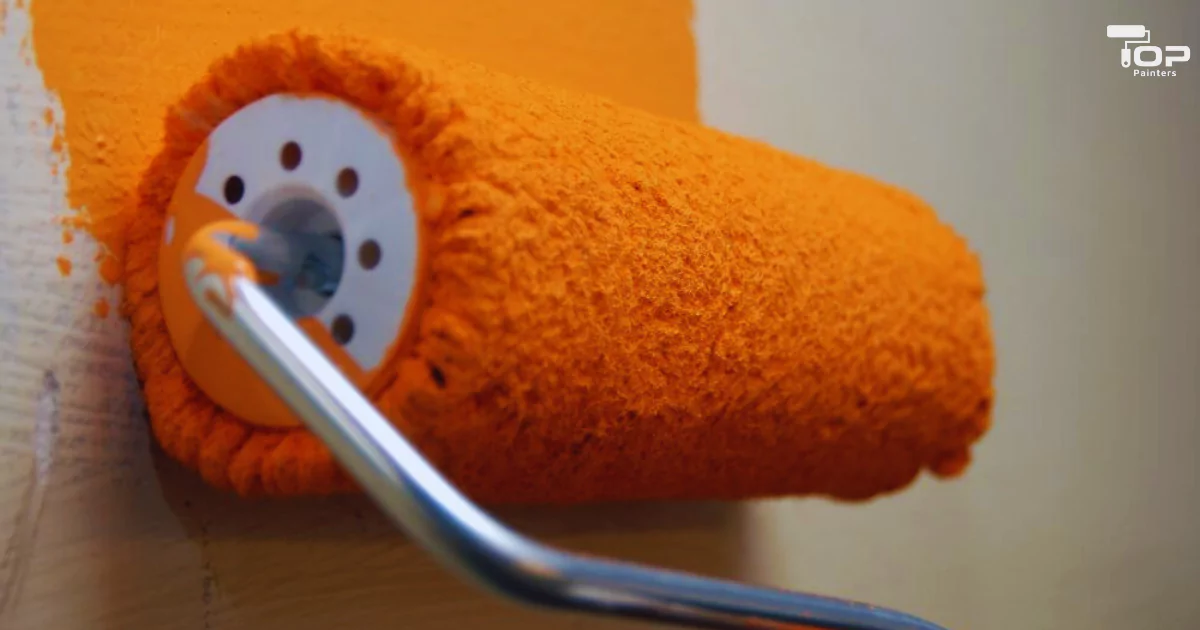
2. Load the Roller Properly
- Pour paint into a roller tray and evenly load the roller by rolling it in the paint.
- Avoid overloading; the roller should be evenly coated without dripping.
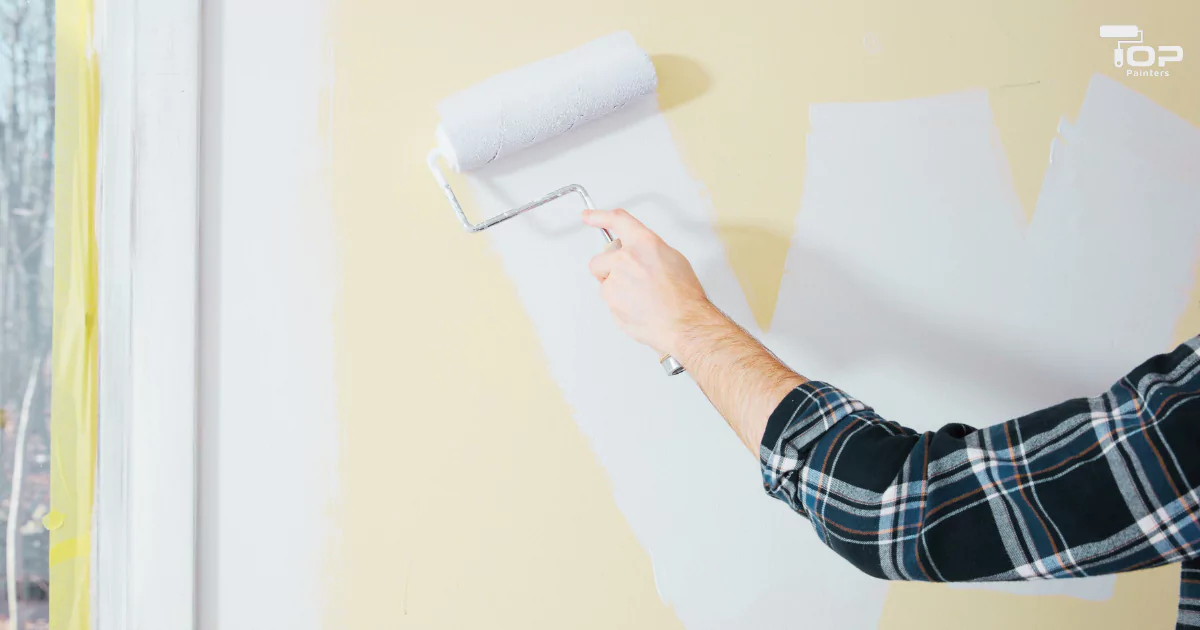
3. Apply the Paint in Sections
- Start with a “W” or “M” pattern on the wall, filling in the gaps with horizontal or vertical strokes.
- Work in small sections to ensure even coverage before the paint dries.
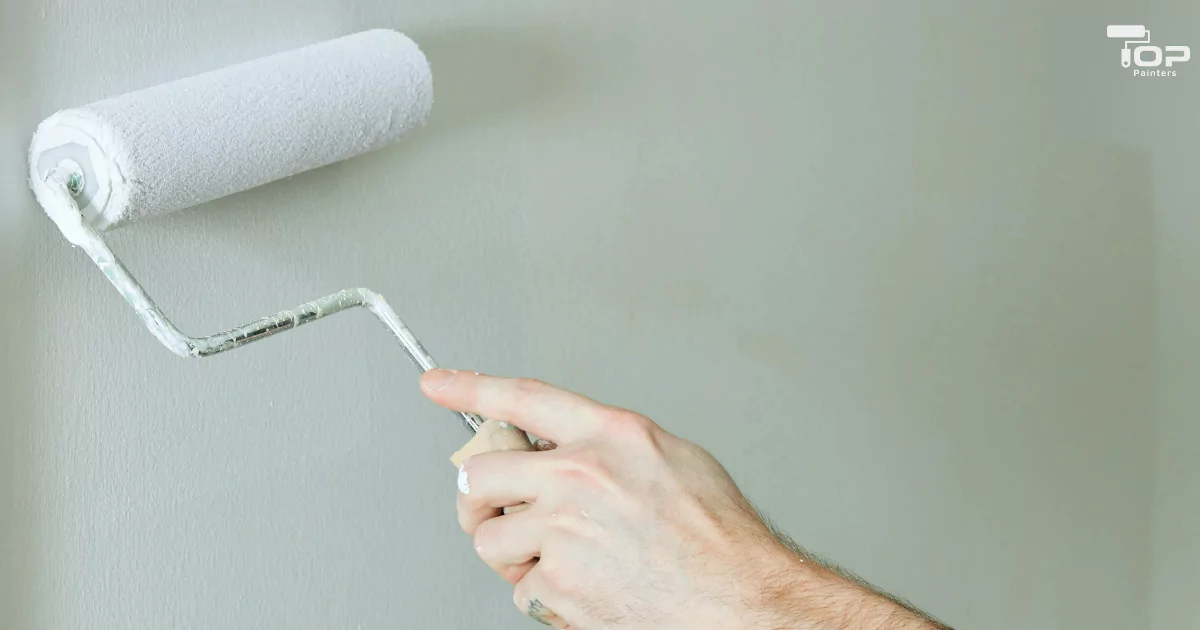
4. Use Light, Even Pressure
- Apply consistent pressure to avoid streaks and roller marks.
- Avoid pressing too hard, as this can cause uneven paint distribution.
For a deeper dive into mastering your roller skills, don’t miss our comprehensive guide, “How to Use a Paint Roller“ It covers everything you need to know for professional results!
The Best Rolling Techniques for Smooth, Streak-Free Paint Application
1. Maintain a Wet Edge
Always work with a wet edge to prevent lap marks. This ensures that each stroke blends seamlessly into the previous one.
2. Overlap Strokes Slightly
Overlap each stroke slightly to ensure even coverage without gaps.
3. Roll in Multiple Directions
For textured surfaces, roll in multiple directions to ensure the paint covers every crevice.
4. Finish with Long, Smooth Strokes
Once the paint is evenly applied, finish with long, smooth strokes to create a uniform finish.
Want to achieve flawless, streak-free paint finishes every time? Don’t miss our in-depth guide on the Best Rolling Techniques for Smooth, Streak-Free Paint Application. This detailed article will teach you expert tips and proven methods to master your paint roller, ensuring professional results for any project!
Common Paint Roller Mistakes and How to Avoid Them
1. Overloading the Roller
Overloading leads to drips and uneven paint distribution. Load the roller lightly and evenly.
2. Skipping Surface Preparation
Painting over dirty or uneven surfaces can lead to peeling or poor adhesion. Always prep the surface beforehand.
3. Pressing Too Hard
Pressing too hard can cause streaks and uneven application. Use light, consistent pressure instead.
4. Neglecting Roller Maintenance
Failing to clean rollers after use can lead to hardened paint and poor performance. Wash rollers immediately after use.
Discover how to avoid these issues in our detailed guide on Common Paint Roller Mistakes and How to Avoid Them. This article highlights the most frequent errors and provides expert solutions to help you achieve smooth, professional-quality finishes every time.
Explore More About Paint Rollers
To truly master the art of painting, understanding the full scope of paint rollers is essential. Our comprehensive Paint Roller article serves as the ultimate guide, covering everything from the basics of choosing the right roller and understanding its anatomy, to advanced techniques, maintenance tips, and roller comparisons. Whether you’re a DIY enthusiast or a professional, this pillar article provides all the insights you need to achieve flawless painting results. Don’t miss it!
Why Choose Top Painters for Your Painting Projects?
If you’re still unsure about the best paint roller techniques, let the experts at Top Painters handle your project for flawless results. We take pride in delivering flawless finishes for every project. Whether you need residential painting or commercial painting, our team specializes in both interior painting and exterior painting to transform your space.
- 📞 Call us at 0410806078
- 📧 Email us at info@toppainters.com.au
- 🌐 Visit us at toppainters.com.au
Let our experts handle your painting project with precision and care. Contact us today for professional results!
Final Thoughts on Paint Roller Techniques
Mastering paint roller techniques is essential for achieving a professional finish. By following the step-by-step guide, using proper rolling techniques, and avoiding common mistakes, you can create a flawless result every time.
Still unsure about the best approach? Trust Top Painters to deliver exceptional results for your painting projects. Contact us today to get started!
FAQs About Paint Roller Techniques
1.What are the best paint roller techniques?
The best techniques include maintaining a wet edge, using light, even pressure, overlapping strokes, and finishing with long, smooth strokes.
2.Why is it important to learn proper paint roller techniques?
Proper techniques ensure even coverage, a streak-free finish, and reduced waste of paint and time.
3.How do I load a paint roller properly?
Pour paint into a roller tray, then roll the roller in the paint evenly, avoiding overloading to prevent drips.
4.What is the “W” or “M” technique?
The “W” or “M” technique involves painting in a zig-zag pattern on the wall, then filling in the gaps to ensure even coverage.
5.Can I use a roller for ceilings?
Yes, use an extension pole with a roller to reach ceilings and apply consistent pressure for even results.
6.How do I avoid roller marks when painting?
Maintain a wet edge, overlap strokes slightly, and use consistent pressure to prevent roller marks.
7.What should I do if I see streaks after painting?
Allow the paint to dry, then apply a second coat using long, smooth strokes to correct streaks.
8.Should I roll in one direction or multiple directions?
For smooth surfaces, roll in one direction. For textured surfaces, roll in multiple directions to ensure even coverage.
9.What happens if I overload the roller with paint?
Overloading can cause drips and uneven application. Load the roller lightly and evenly for the best results.
10.Do I need to clean the surface before painting?
Yes, surface preparation is crucial to remove dust, dirt, or grease, ensuring proper adhesion of the paint.
11.How do I clean my paint roller after use?
For water-based paints: Rinse with warm, soapy water immediately after use.
For oil-based paints: Use a solvent like paint thinner, then rinse thoroughly.
12.What type of roller should I use for walls?
A medium-nap roller (½ inch) is ideal for most walls, providing even coverage with minimal texture.
13.Are foam rollers better than nap rollers?
Foam rollers are better for smooth surfaces like furniture, while nap rollers are ideal for textured walls and ceilings.
14.Can I reuse my paint roller?
Yes, as long as you clean it thoroughly after each use and store it in a dry, dust-free environment.
15.Can professionals help with proper paint roller techniques?
Yes, professionals like Top Painters use advanced techniques and tools to ensure flawless results.
16.Why should I hire professional painters?
Professionals save time, handle surface preparation, and use expert techniques to achieve a high-quality finish.
17.How can I contact Top Painters for my project?
📞 Call us at 0410806078
📧 Email us at info@toppainters.com.au
🌐 Visit us at toppainters.com.au
Originally posted 2024-12-24 02:31:55.