The Complete Guide to Painting with Plastic Putty: How to Prepare and Apply It
When it comes to residential painting or commercial painting projects, one of the key components for achieving a smooth, professional finish is proper wall preparation. Prior to applying paint, walls must be repaired, smoothed, and strengthened with plastic putty. In this guide, Top Painters walks you through everything you need to know about plastic putty, including its benefits, how to make it, and its application methods for interior painting and exterior painting.
What is Plastic Putty and Why is It Important?
A smooth, white substance called plastic putty is applied over holes, fissures, and other surface flaws prior to wall painting. It begins as a powder and becomes a ready-to-apply paste when combined with paint or water. Plastic putty not only enhances the durability of walls but also makes them resistant to water, heat, and abrasions, preventing peeling and other damage.
For any building painting project, using plastic putty helps achieve a flawless, long-lasting finish by providing an even surface for the paint to adhere to. For high-quality plastic paints and painting tools, check out the range available at Dulux.
Why Use Plastic Putty in Residential and Commercial Painting?
Plastic putty offers multiple advantages for both residential painting and commercial painting projects. Whether you’re renovating a home or preparing a commercial space, putty plays an important role in:
- repairing flaws like scratches, holes, and cracks.
- Enhancing wall durability, especially in high-traffic areas or buildings exposed to varying weather conditions.
- Preventing moisture buildup and making walls water-resistant.
- Reducing paint usage, which can lower overall costs.
When applied properly, plastic putty creates a perfect base for painting and enhances the longevity of the paint job, making it a crucial step in interior painting and exterior painting.
How to Make Plastic Putty
There are two common methods for making plastic putty: using water or using paint as the binder.
Method 1: Using Water
- Safety First: Wear a mask to avoid inhaling dust and use rubber gloves for hand protection.
- Mixing: Take plastic putty powder and mix it with water in a small container. Stir the mixture thoroughly with a palette or spatula until it forms a thick paste.
- Modify Consistency: If the mixture is too thick, add more water; if it is too thin, add more putty powder. Mixing should continue until the required consistency is reached.
- Testing: Test the consistency by applying the putty on a small surface, like a piece of board, to ensure it spreads evenly.
You can also find high-quality tools like trowels and putty knives to help you with this process at Bunnings Warehouse.
Method 2: Using Paint
- Mix with Paint: Instead of water, mix the plastic putty powder with plastic paint to create a paste. This method provides better adhesion and enhances the durability of the putty.
- Optional Additive: If the mixture lacks adhesion, you can add a small amount of wood glue to strengthen it.
Both methods are effective, but using paint as the binder often offers better results, particularly in residential or commercial painting projects.
How to Apply Plastic Putty
It’s time to apply the plastic putty after it has been prepared. For optimal outcomes, adhere to following steps:
- Clean the Surface: Make sure the wall is free of any dust, oil, or stains before puttingty on it. This improves the putty’s ability to stick.
- Primer Application: Some experts recommend applying primer before putty to fill larger cracks and ensure better bonding. Others advise puttingty on the wall first, depending on its state.
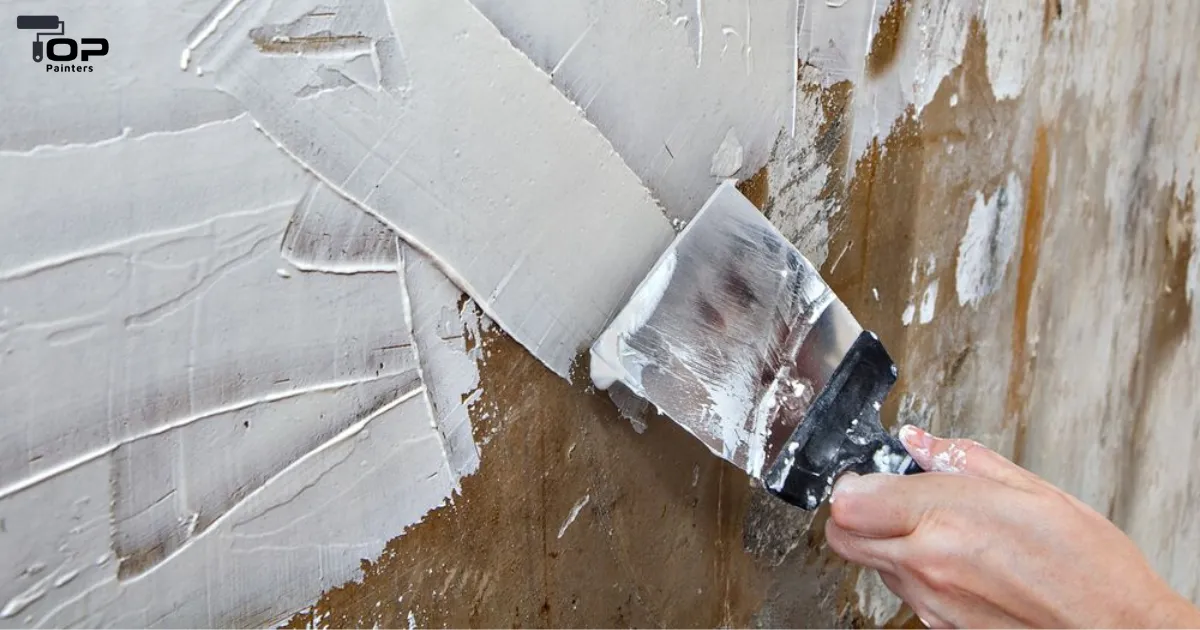
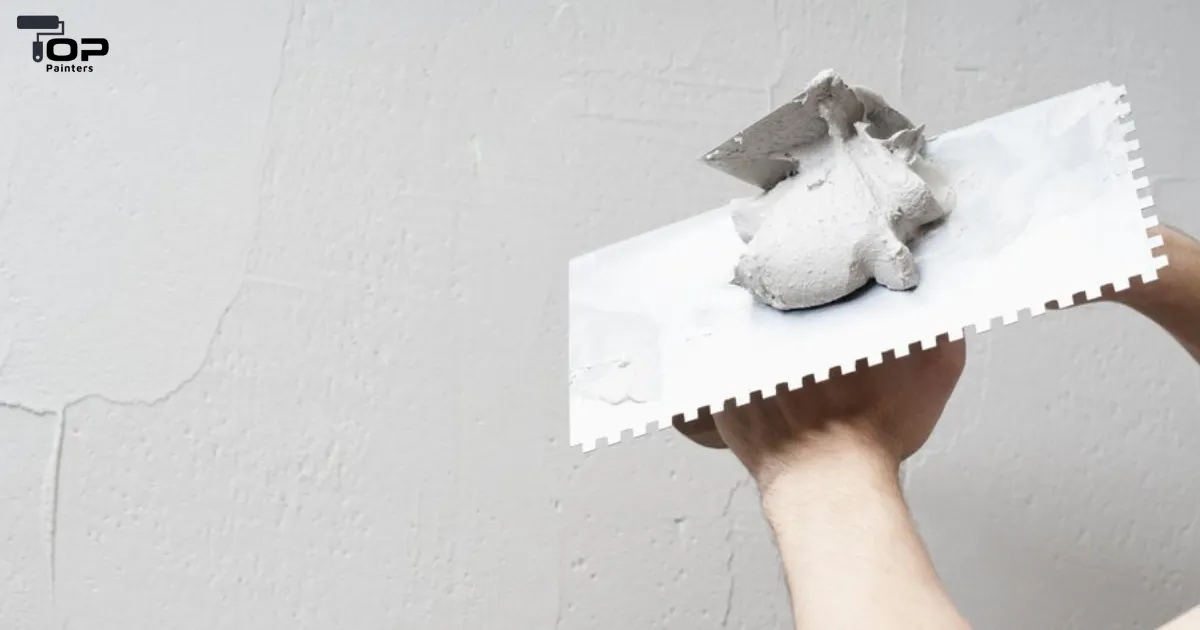
- Apply the Putty: Evenly distribute the putty on the wall using a trowel and putty knife. Avoid spreading it too thin, especially if you’re using plastic paint putty.
- Sanding: To ensure smoothness, lightly sand the surface once the putty has set before adding primer or paint.
Using putty is a straightforward process but requires precision. Whether painting the inside or the outside, a perfect surface is guaranteed when one or two layers of putty are applied.
Benefits of Using Plastic Putty
Plastic putty offers several benefits that enhance the outcome of your painting project:
- Water Resistance: It keeps moisture out of the walls, which is very helpful when painting outside.
- Durability: It keeps the paint from peeling or splitting and fortifies the wall’s surface.
- Cost-Effective: By filling in wall imperfections, plastic putty reduces the amount of paint needed, saving money.
- Smooth Finish: It produces an even, smooth surface on which to apply paint, giving the area a more refined and expert appearance.
Drawbacks of Plastic Putty
While plastic putty is highly beneficial, it does have some drawbacks:
- Quick Drying Time: It requires skill to apply quickly before it dries.
- Difficult Cleanup: Once dried, removing excess putty can be challenging.
- Toxicity: Some plastic putties contain chemicals that can cause skin irritation if not handled with care.
Despite these drawbacks, the benefits of plastic putty make it an essential product for residential and commercial painting.
Using Plastic Putty for Different Paint Types
It’s critical to use the appropriate putty kind for the paint you intend to use:
- For Plastic Paint: To guarantee compatibility with plastic paint, use water-based plastic putty.
- For Oil-Based Paints: Use oil-based putty, which offers greater adhesion and durability.
Ensuring the right match between putty and paint is key to achieving a long-lasting, professional finish.
Related Articles:
Summary
A crucial step in getting walls ready for a smooth, long-lasting finish is using plastic putty before painting. Filling in gaps, cracks, and other flaws with plastic putty not only makes your walls seem better, but it also makes the paint job stay longer. Whether you’re working on residential painting or commercial painting projects, proper use of plastic putty ensures a flawless surface for both interior and exterior painting.
For expert results, trust Top Painters. Our skilled team can handle all your wall preparation needs, ensuring a perfect application of plastic putty for your next painting project. Let us help you achieve a beautiful, long-lasting finish for your home or commercial space.
Frequently Asked Questions:
1. What is plastic putty used for in painting?
Plastic putty is used to fill cracks, holes, and imperfections in walls before painting. It creates a smooth, even surface for paint application, which improves the final finish and durability of the paint job.
2. How does plastic putty improve wall durability?
Plastic putty strengthens the wall by filling gaps and making the surface resistant to moisture, heat, and abrasions. It also helps prevent peeling and cracking of paint over time.
3. Can plastic putty be used for both interior and exterior painting?
Yes, plastic putty is suitable for both interior painting and exterior painting. It helps create a smooth, durable surface that can withstand various environmental conditions.
4. What is the difference between plastic putty in powder form and paste form?
Powdered plastic putty needs to be mixed with water or paint to form a paste, while paste putty comes ready to use. Paste putty is more convenient but has a shorter shelf life, whereas powdered putty offers more control over consistency and lasts longer.
5. How do I make plastic putty?
To make plastic putty, mix the powder with water or paint to achieve a paste-like consistency. You can also add wood glue for better adhesion if needed. Stir until smooth, and then test the consistency before application.
6. When should I apply plastic putty in the painting process?
Plastic putty is typically applied after the walls have been cleaned and primed. It fills cracks and imperfections before painting. Some experts suggest using primer before putty, while others recommend priming afterward, depending on the wall’s condition.
7. Can I use oil-based putty with water-based plastic paint?
No, oil-based putty should not be used with water-based plastic paint. For water-based paints, it’s best to use a water-based plastic putty to ensure compatibility.
8. What are the benefits of using plastic putty?
Plastic putty offers several benefits, including water resistance, improved paint adhesion, durability, and cost-effectiveness by reducing paint usage. It also helps create a smooth, professional-looking finish.
9. What are the drawbacks of using plastic putty?
The main drawbacks of plastic putty include its quick drying time, which requires skill to apply, and the difficulty in cleaning it once it has dried. Some putties may also contain chemicals that can cause skin irritation if not handled properly.
10. Can plastic putty be used for both residential and commercial painting projects?
Yes, plastic putty is versatile and can be used for both residential painting and commercial painting projects. It helps prepare walls for a smooth, durable finish in a variety of settings.
11. How should I apply plastic putty to walls?
First, clean the surface and ensure it’s free of dirt or grease. Then, use a trowel and putty knife to apply the putty evenly across the wall. Sand the surface after it dries to achieve smoothness before painting.
12. Where can I use plastic putty in a building?
Plastic putty can be used on walls, ceilings, and other surfaces where you need to repair cracks, fill holes, or prepare a smooth surface for painting. It is suitable for use in both high-traffic and low-traffic areas, depending on the paint being applied.


